Here’s a quick how-to post detailing how to schedule a post in WordPress. Essential knowledge for regular bloggers, those that host blog tours, or if you’re going to be away from the computer for a few days. It means you can simply set up your post, then forget about it until it goes live. (Please note: Occasionally, WordPress will miss schedule with a post, so please keep an eye out for that. But it’s incredibly rare.)
(Click on any of the screenshots to enlarge them)
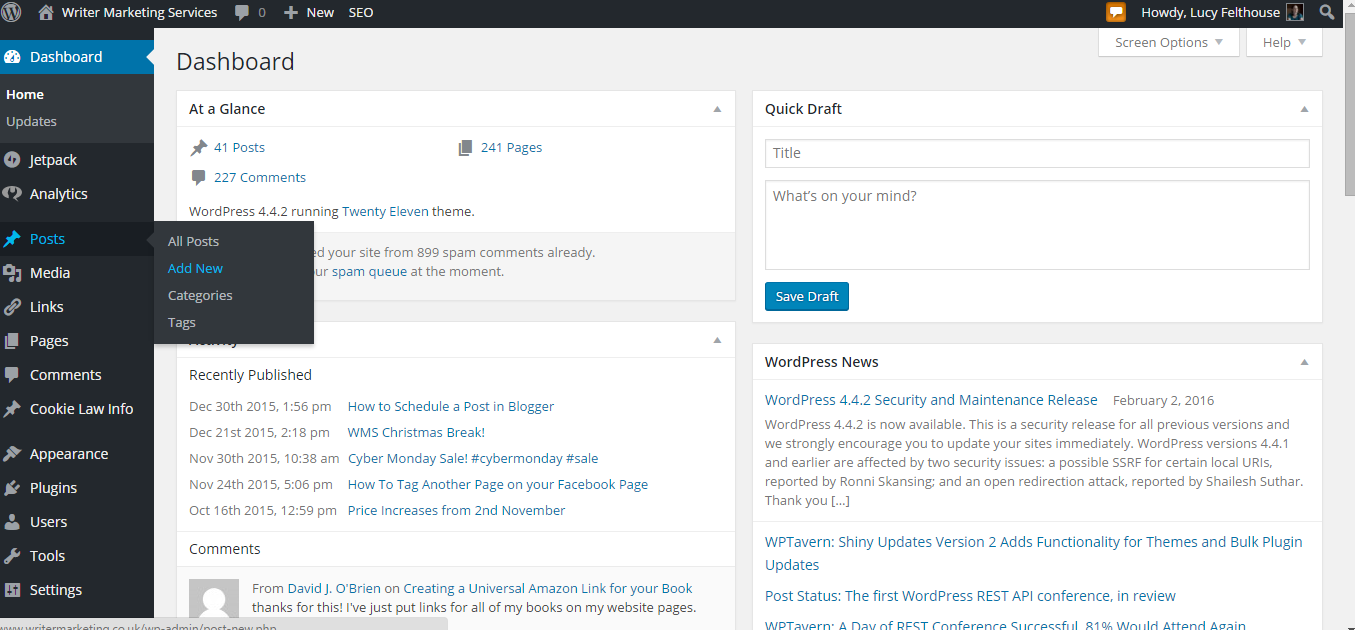
1. Log into your WordPress site as you would normally, then navigate to create a new post.
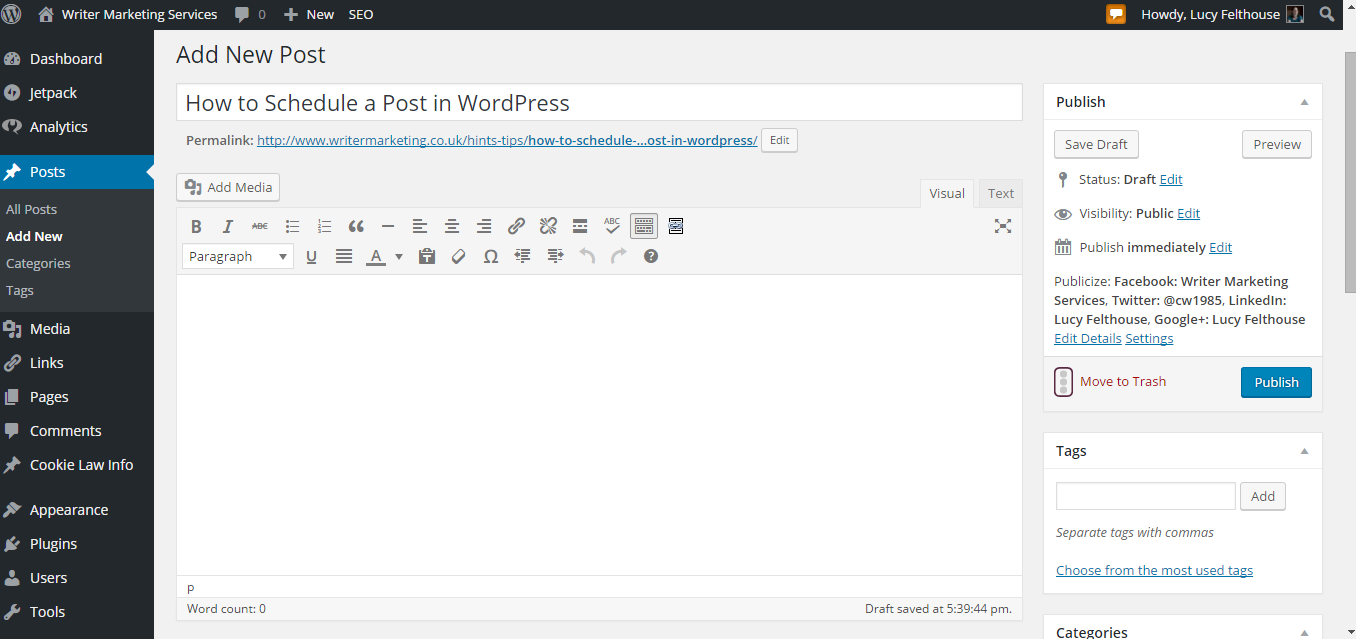
2. Write your post as you would normally.
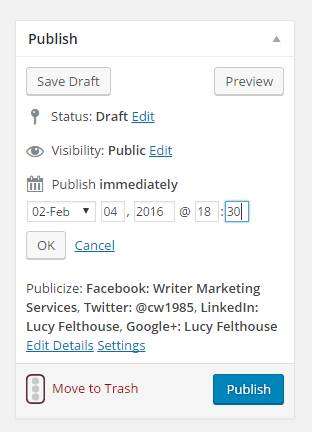
3. Under the ‘publish’ box, click ‘edit’ next to the part that says ‘publish immediately’ and you’ll see a series of pull down lists and boxes where you can enter the date and time you’d like the post to publish. Fill them in with the date and time you want to schedule your post for.
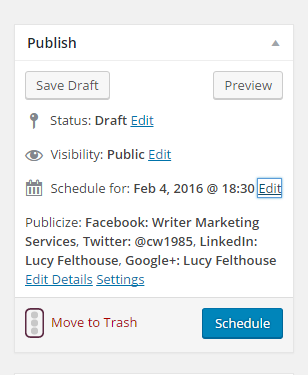
4. Click ‘OK’, then click the ‘schedule’ button.
5. You’re all set! Navigate back to your ‘posts’ menu, and you’ll see your scheduled post sitting above your already-published posts with a message next to the post title saying ‘scheduled’ and the date over on the right hand side so you can see at a glance when it’s scheduled for.

If you found this article useful, please consider sharing it with others. Thank you!